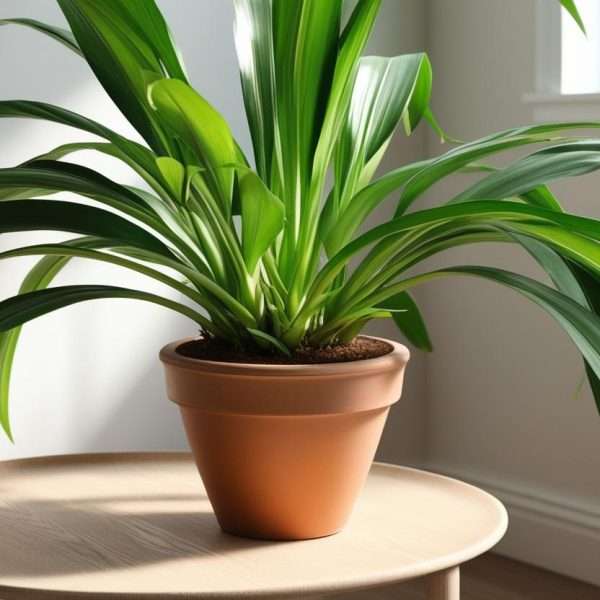
The pregnant onion plant is a quirky bulbous succulent valued as an easy houseplant. It gets its name from its large, onion-like bulb that often sits partly above the soil, producing “pregnant” bulblets on its sides.

From that bulb arise long, strappy green leaves that arch gracefully. This plant is very forgiving: growers call it “fuss-free” and suitable even for beginners. (Be aware, though, all parts are toxic if eaten, so keep it away from pets and children.)
With bright light and minimal fuss – it rarely needs water or fertilizer – the pregnant onion rewards you with dramatic foliage and even a tall flower spike.

Pregnant Onion Plant Lighting
- Bright, indirect light
 Place the plant in a sunny spot (a south- or east-facing window) so it gets about 6–8 hours of bright light per day. It can handle some direct morning sun, but avoid harsh midday rays (which scorch the leaves).
 - Supplemental light
 If natural light is limited indoors, use a grow light (full-spectrum LED or fluorescent) positioned 12–18 inches away to ensure it still gets abundant, bright light.
Temperature & Humidity

- Warmth: Keep indoor temperatures around 15–27 °C (59–80 °F), which is ideal for this tropical bulb. It can tolerate brief cold snaps (down to about –4 °C or 25 °F), but prolonged frost or chill will damage it. Bring it indoors whenever night temperatures might dip below ~10 °C (50 °F).
- Humidity: Average home humidity is fine; this plant doesn’t need extra humidity. Good air circulation (but not cold drafts) helps prevent any dampness-related issues.
Pot & Drainage
- Container
 Use a pot with drainage holes to let excess water escape. Terracotta or other porous pots are ideal because they help the soil dry out.
A shallow, compact pot is best (these bulbs like to be somewhat snug). Plan on leaving the bulb’s top above soil level – in fact, setting the bulb so its top ~⅔ of the way above the surface allows air and light around it and lets bulblets emerge naturally. - Space
 Leave a few centimeters of space around the bulb (about 2–3 cm) when potting. If you group multiple bulbs, plant them a finger’s-width apart so they don’t crowd each other.
Soil Composition & pH

- Well-draining mix
Use a very loose, gritty soil. A mix of cactus/succulent potting soil or bulb soil amended with sand, perlite, or pumice is perfect. The key is excellent drainage: CJM Tree Growers recommends a “sandy, gritty or loamy” mix with a neutral pH. - DIY potting: You can make your own by blending equal parts regular potting soil, coarse sand, and perlite or pumice. Avoid any heavy, moisture-retentive soils – soggy soil is the quickest way to rot this plant.
Watering (Methods & Schedule)
- Soak-and-dry
 Water deeply but infrequently. Let the top few centimeters of soil dry out completely before watering again. In practice, that often means watering roughly once every 1–2 weeks in active growth (depending on pot size and home climate).
Always pour out any water that collects in the saucer. - Seasonal adjustment

During the growing season (spring–summer), keep a regular watering schedule. Once temperatures cool or after the plant finishes flowering, cut back.
The bulb hates waterlogging: overwatering causes root rot (the bulb will turn soft and translucent).
Conversely, if you leave it bone-dry for too long, it will go dormant and the leaves die back. In winter or dormancy, water only enough to keep the bulb from shriveling (just moist, not wet).
Pregnant Onion Plant Fertilization
- Light feeding
 Pregnant onions need very little fertilizer. For most growers, feeding once every 2–3 months during the growing season is plenty.
Walter Reeves suggests fertilizing every two months when growth is active. Another approach is to repot yearly: fresh potting soil provides nutrients, so additional feeding isn’t strictly necessary. - Fertilizer type
 Use a balanced, water-soluble houseplant or cactus fertilizer at half-strength. You can fertilize monthly during spring and summer (skip in fall–winter) if the plant seems to need it.
Leaf and Flower Development
Indoors, a healthy pregnant onion will form a tight rosette of long, arching leaves that look a bit like a large scallion or semi-succulent lily. Expect each leaf to reach 40–60 cm (16–24 inches) or more over time.
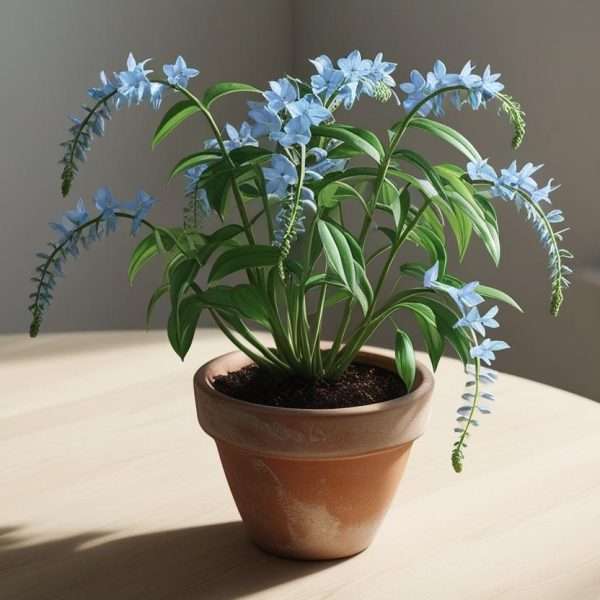
The leaves emerge in spring and summer; in very dry or dormant periods they may yellow and drop. If your plant is happy, it will eventually send up a tall flower stalk (often 70–90+ cm tall) topped with dozens of small star-like white flowers with a green mid-stripe.
These blooms have a mild fragrance. After flowering, prune away spent flower stems and any yellowing leaves to keep the plant looking tidy.
Your houseplant is dying right now — and you have no idea why.
Stop killing your houseplants.
The fix takes 60 seconds.
Snap a photo. LetPlant AI instantly diagnoses what’s wrong, tells you exactly when to water, and alerts you before it’s too late — not after.
FREE Save my houseplants nowNo credit card. No catch. Just healthier houseplants.
Bulbil Production & Propagation

As the plant matures, it produces tiny bulbils (“pups”) on the sides of the mother bulb. You’ll often see little knobs on the bulb that eventually grow their own little leaves.
Wait until a bulbil has formed a small shoot or root before removing it (one grower advises “don’t remove one until it has fully emerged”). To propagate, gently twist or cut each offset away from the parent bulb.
Plant the baby bulb in its own pot with the same gritty soil. Water sparingly at first and place it in bright light. Within a few weeks it will establish itself as a new plant. (Mature bulbs can also be divided when repotting – simply separate the bulbs and replant each.)
Repotting & Dividing
When it outgrows its pot or the soil degrades, repot in early spring. Ideally wait until the bulb has doubled in size or the roots start to push through holes. Choose a shallow, slightly larger pot so the bulb still sits snugly (leave only ~1/3 of the bulb below the soil).
Use a fresh draining mix as above. If you have multiple bulbs or offsets, replant them 1–2 cm apart in the new pot. After repotting, resume normal watering (no need to fertilize immediately). Fresh soil usually provides enough nutrients.
Pregnant Onion Plant Common Problems & Troubleshooting
- Overwatering
 The most frequent issue is waterlogged roots. Symptoms include yellow, mushy leaves and a soggy bulb.
Because the pregnant onion “reacts poorly to waterlogging”, remove it from wet soil, cut away any rotten parts, and let the bulb dry briefly. Adjust your watering schedule to avoid this. - Underwatering
 Conversely, if the bulb dries out completely, the plant will go dormant – the leaves will collapse or die off. This is a natural response, but if you want it green year-round, don’t let the soil sit bone-dry for months.
 - Leaf yellowing
 A little yellowing of old bottom leaves is normal as part of growth. However, rapid yellowing of many leaves usually signals a watering error (too much or too little).
 - Brown leaf tips
 This can happen in low-humidity indoor air or if a leaf tip was damaged. It’s generally cosmetic – just trim off dried tips if they look ragged.
 - Pests
 Very few pests bother this plant. It’s generally disease-free and even deters others. On rare occasion you might spot a mealybug – simply wipe it off with alcohol. No major insect or fungal issues are known.
Pregnant Onion Plant Styling & Display Indoors

The pregnant onion makes a striking display with its sculptural bulb and arching leaves. Choose a decorative pot (terra-cotta, glazed ceramic, etc.) that complements its form. You can place it on a windowsill, plant stand, or shelf where it catches light.
A fun option is a hanging basket – suspended with its roots in a pot, its foliage will cascade downward beautifully. It also pairs well with other drought-tolerant plants (succulents, other bulb-flowers) that like bright light and dry soil.
In any setting, the exposed bulb is the focal point: some growers top-dress the soil with decorative pebbles to highlight it.
Seasonal Care Changes
- Winter/Summer habits
In cool-winter climates, pregnant onions often grow in winter and rest in summer. Indoors, if you keep it warm, it may stay leafy all year; but giving it a slight cool-down in winter (around 5–12 °C or 40–54 °F) can encourage a good bloom in spring.
If winters are warm and dark, the plant might stay evergreen but simply won’t flower. - After flowering
Once flowering finishes, gradually reduce watering. This mimics the plant’s natural cycle and encourages a brief dormancy. Then, in early spring, return to regular watering and feed as it wakes up. - Light adjustments
In winter months when days are short, give the plant extra light if it’s warm. “in winter… the lighting needs to be increased” if you’re not lowering the temperature.
Conversely, during very hot mid-summer, move it away from intense sun or even give it a little more shade. - Seasonal outdoors (optional)
In mild climates (USDA zones ~9–11) you can move the plant outdoors in summer, then bring it in before frost. But even kept entirely indoors, it will happily adjust its growth to the seasons as long as light and watering are managed carefully.
In short, grow your pregnant onion in a bright spot with a loose, sandy soil and a pot that drains well. Water sparingly (never letting the plant sit in water), feed lightly during spring–summer, and allow a bit of a cool, dry rest in its cycle.
With these simple steps, you’ll be rewarded with lush arching foliage, occasional fragrant blooms, and a steadily expanding family of little onion-bulbs!